generator-pyhipster
Requirements
The minimum requirements that need to be installed before we get started are
- Python 3.10
- Poetry
- NodeJS 16.16.0 LTS
- NPM 8.11.0
- Git 2.33
After this installation, you will need to add the programs to your PATH. Please refer to the guide for Linux or Windows
Validating the install
Open your terminal (Linux) or Command Prompt (Windows) and run the following commands to validate your installation.
On Windows
$> python --version
$> git --version
$> node --version
$> npm --version
On Linux
$> python3 --version
$> git --version
$> node --version
$> npm --version
Installing PyHipster (Locally)
To install the generator run the following command
$> npm install -g generator-pyhipster
Installing PyHipster (Docker)
You can use the following command to download the PyHipster Docker image and use that for all development
$> docker pull pyhipster/pyhipster
Then run the following command to deploy the image
$> docker run -d --name pyhipster-demo -p 8080:8080 -p 9000:9000 -p 3001:3001 -v <local_folder>:/home/pyhipster/app pyhipster/pyhipster
The folder
Development Setup
Local Installation
Go to any folder and create the project folder
$> mkdir my-project
$> cd my-project
Docker
For setting up your environment on Docker, run the following command
$> docker run exec -it pyhipster-demo /bin/bash
You will be logged into the container at the location /home/pyhipster/app. This is the default location where you will be creating the application.
Creating Your First PyHipster Full-Stack Application
The following steps are the same for both cases of local and Docker setup.
On your terminal, run the PyHipster generator
$> pyhipster
This will start the generator and will ask you a couple of questions to generate the application

Please see below for an explanation of each of these questions.
? What is the base name of your application? pyhipster
Explanation - Provide a name for your project
? Which *type* of authentication would you like to use?
> JWT authentication (stateless, with a token)
HTTP Session Authentication (stateful)
Explanation - Select the desired authentication mechanism.
? Which *type* of database would you like to use? (Use arrow keys)
> SQL (SQLite, MySQL, PostgreSQL, Oracle, MS SQL Server)
Explanation - Select any database type you want. Only SQL databases supported till now.
? Which *production* database would you like to use? (Use arrow keys)
> PostgreSQL
  MySQL
  MariaDB
  Oracle
  Microsoft SQL Server
  CockroachDB
Explanation - Select the kind of database that you would want for the application in production environment. The selection from this stage would be available in the subsequent stages.
? Which *development* database would you like to use? (Use arrow keys)
> SQLite with disk-based persistence
  SQLite with in-memory persistence
  MySQL
Explanation - You have the option to use the embedded SQLite database for development or the database you selected to be used in production from the earlier stage
? Which cache do you want to use? (Use arrow keys)
> No cache
  SimpleCache
  FileSystem cache
  Memcached
  Redis
Explanation -
? Which *Framework* would you like to use for the client? (Use arrow keys)
> Angular
  React
  Vue
  No client
Explanation - You are given a choice to select either Angular, React, or Vue for your frontend
? Do you want to generate the admin UI? Yes
Explanation - Choose “Yes” if you want to enable user management
? Would you like to use a Bootswatch theme (https://bootswatch.com/)? Default JHipster
Explanation - This will enable UI themes from Bootswatch. Please here to Bootswatch for more details of available themes
After selecting the options, PyHipster will work to generate the Python and UI code based on your selections.
Once the application is generated, the tool will automatically install all the necessary Python and Node modules.
New in version 0.0.9PyHipster takes care of running the backend and frontend code by itself, and you have to execute only one command.
On the terminal, execute the following command to trigger an execution of the Flask and NodeJS code parallelly using the concurrent library.
$> npm run pyhipster
Once the application is running
- On a local install, PyHipster will automatically open your default web browser and point to http://locahost:9000
- For a Docker install, you will have to open your browser and point it to http://locahost:9000.
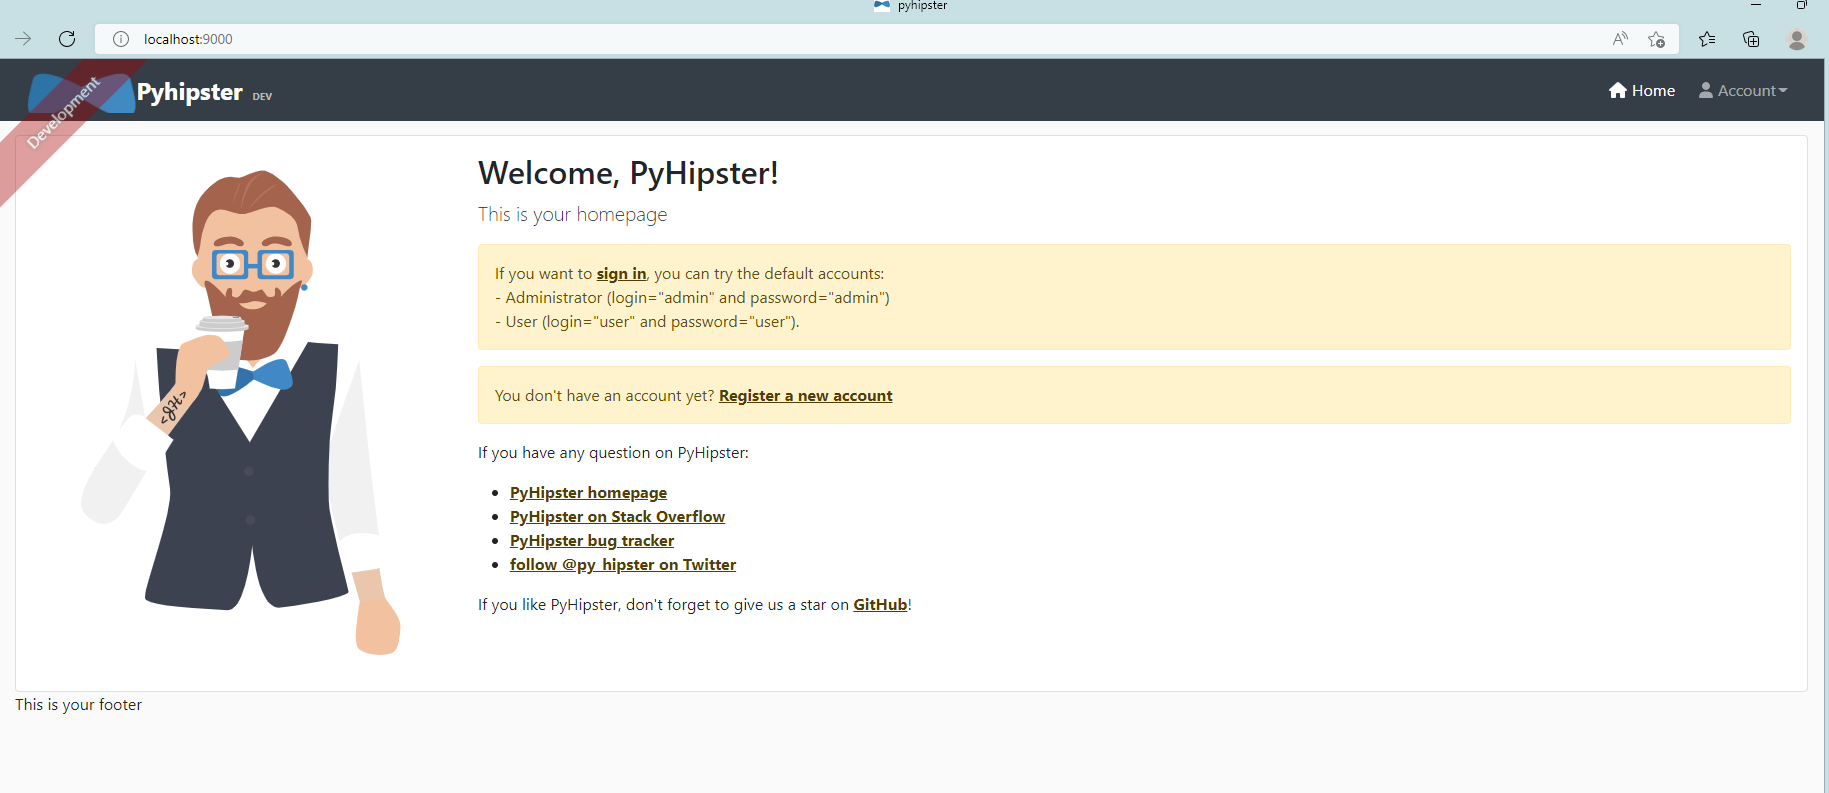
Follow the onscreen instructions and login as “admin” or “user” and explore around.
Testing
PyHipster generates unit and functional test cases for the default user and authority entities at project generation. To run the tests, issue the following command
$> poetry run pytest
Code Coverage
$> poetry run task coverage
The coverage report is created under <project_root>/htmlcov/index.html
Static Code Analysis
$> poetry run task code_quality_scan
Vulnerability Analysis
$> poetry run task security_scan
Code Formatting (Black)
$> poetry run task code_formatting
Data Model Definition
The JDL is a JHipster-specific domain language where you can describe all your applications, deployments, entities and their relationships in a single file (or more than one) with a user-friendly syntax. PyHipster reuses JDL for data model definition as well.
Please find more information abuout JDL here
Customizations
Database
The application can handle its embedded SQLite database. In you you selected the database type to be anything other than SQLite, you have to provide appropriate values to the below options in the file src/main/python/config/BaseConfig.py
# Database
SQLALCHEMY_DATABASE_URI = '...'
SQLALCHEMY_TRACK_MODIFICATIONS = False
PROPAGATE_EXCEPTIONS = False
Please refer to the SQLAlchemy documentation for further details.
To configure your own email to work with the generated application, please go to the file src/main/python/config/BaseConfig.py and edit the following lines to the appropriate values
# Mail Configurations
MAIL_SERVER = 'smtp.gmail.com'
MAIL_PORT = 587
MAIL_USE_TLS = True
MAIL_USE_SSL = False
MAIL_USERNAME = 'my-email-id@gmail.com'
MAIL_PASSWORD = 'my-email-password'
Please note: If you use the above configuration with your Gmail password, you might need to allow less secure apps. The configuration is simpler but less secure. Also by allowing less secure apps you won’t have the ability to use two factor authentication with Gmail. Therefore we highly recommend you use an app password instead of the Gmail password. Please refer to the Gmail configuration document at Sign in with App Passwords for more information on how to set this up.
Cache
To configure your cache to work with the generated application, please go to the file src/main/python/config/BaseConfig.py and supply values for the selected caching mechanism. For example, for Redis cache, you will have the following options to be customized.
# Cache Configurations
CACHE_TYPE = 'RedisCache'
CACHE_DEFAULT_TIMEOUT = 60
CACHE_KEY_PREFIX = ''
CACHE_REDIS_HOST = ''
CACHE_REDIS_PORT = 6379
CACHE_REDIS_PASSWORD = ''
CACHE_REDIS_DB = ''
CACHE_REDIS_URL = ''
Errors
OSError while using FileSystem cache
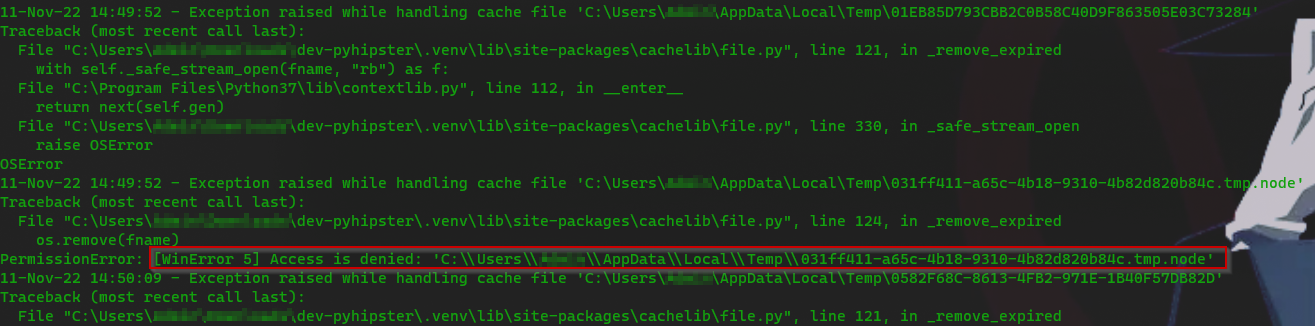
Cause: This is caused by the filesystem not being accessible for writing to the caching library
Resolution:
- Go to
src/main/python/config/BaseConfig.py - Change the following line to any folder that the current user has write access
CACHE_DIR = tempfile.gettempdir()For example,
/tmp(Linux) orC:\temp(Windows)
Docker: Execution fails with port error
Cause: This is caused by the ports being in use on your local machine. Lot of security clients use port 9000.
Resolution: Use a different local port to bind with the required ports 8080, 9000, and 3001 in the docker run command.
Tools
- JHipster Studio for writing JDL files
- JWT token validator for testing JWT tokens
- BCrypt Tester for testing password generation and validation